Saturday, April 28, 2012

Tri-Cities Flea Market

Our local farmer's market will open next weekend, but my husband and I are already craving fresh veggies... So today we piled into the car and headed down to our flea market!

Just as I had hoped, we found quite a few veggie vendors, and scored some new red potatoes, a basket of cucumbers, and juicy, full tomatoes!

Benjamin was quite pleased!

Friday, April 27, 2012

Farewell, Spring Semester... Hello, Moving Day!

With only finals week left to go, I am looking forward to my summer vacation! I cannot wait to spend my summer with my son, playing outside, picking blackberries, and selling soap at our local farmer's market! I am also looking forward to the Fall semester, when I will start taking business classes in earnest, and I will take my first accounting class... Kind of scary, but I am excited!

The only thing I am NOT looking forward to is our summer move.
Packed and ready to go!
My family and I are fortunate enough to live in family housing at East Tennessee State University, where I attend. However, our apartment complex is fairly old and in need of some renovations. So, for the summer months, we are being relocated to another apartment on campus. While I am excited about the new apartment (and the washer/dryer that comes with it!), the process of packing up our things has me panicky. Not to mention, I am also having to pick up my business and move it, just to move it again come August when the renovations are complete! Argh! Stressful!
In preparation for the move, I have limited myself by not making any new soap for the past few weeks, so I do not have to worry about moving any soft soap. My tasks for this weekend include wrapping the last few bars of soap that have finished curing and packing them away. I've found that packing my soaps, lip balms, and other things in rubbermaid shelves has made the easy to transport and lift, as well as keeping them at hand in case any new sales come in during the move.

Plus, once we are moved and (kind of) unpacked, I can start making more soaps!! So, be on the lookout in my Etsy shop and my Zibbet shop for new creations!

I guess I have put off packing for long enough... Happy Creating!

Monday, April 23, 2012

Blackberry Winter

Photograph by Cassie at
LifesSimpleMoments.etsy.com
Here in the south, springtime cold snaps can be called one of two things: Dogwood winter, or Blackberry winter. Dogwood winter comes first, usually in early April, and the cold snap is signified by the blooming dogwood trees that dot the hills and valleys. Blackberry winter happens a bit later, usually in early May, and all of the blackberry bushes bloom with their small, white dots of flowers.

In fact, last week as I was walking with my Mom and son, I noticed that a wild blackberry bush had not yet bloomed, and I mentioned to my mother, "We're in for a cold snap." She glanced down at the purple blackberry vines and agreed. Little did we know tyhat the cold snap was less than a week away!

So here we are, huddled against the cold and wind in the last week of April, and all I can think about is the middle of July, when the blackberries are warm and juicy straight off the plant, the berries bursting in mouths, and staining lips and fingers...

Summer cannot come fast enough! Enjoy your Blackberry winter!

Monday, April 16, 2012

Reused Crayons

My little man, who turns 21 months old this week, is really getting into drawing with crayons! At least twice a day, he comes and gets me and asks "color, Mommy?" How can I resist that?!? And as much as my son loves to color, he's really rough with the crayons. Loads of them have broken tips, or have broken into two or three pieces, making them hard for him to hold.

So, this weekend, we took all of those old crayons, and remelted them into new ones!

You will need:
crayons
Crayon bits in the mold
a heat-safe container (like a silicone muffin pan or muffin tin. Fun shapes work great!)
oven

First, you will need to break up your crayons into medium-to-small sized chunks. You can mix colors together like I did (I mixed my yellows/oranges, red/purple/pink, and blue/gray), or you can keep your colors separate. Make sure that you remove all of the paper and adhesive from the crayons!

Next, just toss the crayon pieces into your mold. Put your mold into the oven and set it to the lowest possible setting. I melted my crayons at 150 degrees for 10 minutes, and they came out perfect!
Finished new crayons!

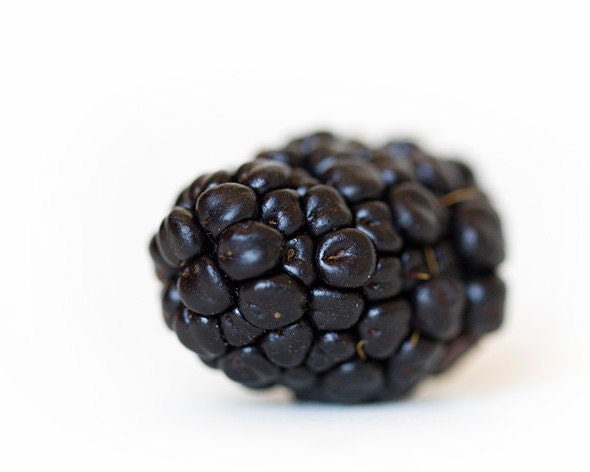
Once the crayons are completely melted, just remove the mold and let the crayons cool to room temperature before removing them. Your colors will blend together and make great patterns! My son adores his new football-shaped crayons... great for his little hands!

One thing that I notices after coloring with the new crayons, there was a thin layer of uncolored wax that formed on the top of the crayon while it was still in the mold . I just used a butter knife to scrape it away.

Happy coloring! :o)

Monday, April 9, 2012

Green Thumb

It is Spring in the Northern Hemisphere, and with the warming weather, my mind has turned to gardening... We live near a wooded area and I am already planning on picking lots of honeysuckles and blackberry leaves... and there are hundreds of dandelions and nettles all around us in Tennessee... But I've always wanted a big garden, but apartment life isnt really suited for it.
Loofah seeds!

However, a month or so ago, I ordered some loofah seeds from Amazon, determined to get those little suckers to grow. I soaked them for two days in water before wrapping them up in a wet paper towel with a little bit of potting soil. After just a day in the paper towel, all of my little seeds had germinated and were ready to plant!


Four little sprouts!
My little loofah sprouts have all popped up from the soil and are looking green and strong! I'll keep them in this starter pot for the next few weeks, then separate them into their own, individual pots, and put tomato cages with the plants so that the vines can crawl! They need well-draining soil and lots of sun...

I am hoping to have a good crop of loofahs, so I can use them in my soap!

Monday, April 2, 2012

Lye Safety

The chemistry behind soap making is fascinating! Cold process soap is made by combining oils and caustic soda (aka, lye or sodium hydroxide), which produces glycerine, which is the cleaning agent found in soap. Sounds fairly simple, right?

Well, lye can be a dangerous chemical if handled the wrong way. Once mixed with water, lye can cause severe burns, even peel paint off of wood! When working with lye, always make sure to wear long sleeved shirts, pants, and closed toe shoes. You will also need the following safety equipment:
  • thick gloves
  • eye protection (glasses alone dont cut it!)
  • optional: face mask or other respiratory protection

When making soap, you will need to mix lye and water together before adding it to your oils. There are a few rules to remember:
  1. ALWAYS wear your safety gear! 
  2. Use #5 plastic containers to mix your lye and water in. NEVER use glass! Not even Pyrex!
  3. Never use wooden utensils to stir your mix with. The best ones I have found are silicone spatulas.
  4. ALWAYS pour your LYE into the WATER! Lye --> Water! If you mix this one up, you could have a lye volcano on your hands... not cool!
Lye is a dangerous chemical and should be respected and treated with care. Please always take care to avoid burns. If you happen to be burned by lye, run the affected area under cold running water for at least 15 minutes. You can also use vinegar to wash away the lye (and neutralize it).